 Podcasts
The main discussion in Episode #102 explores what KCAS Bio scientific advisors are hearing from customers as face-to-face visits and industry interactions increase. The conversation highlights a major shift toward more complex therapeutics and targeted delivery strategies, including conjugates, protein shuttles, in vivo gene therapies, and technologies designed to…
 Blogs
Blogs
When a sponsor’s biologic program expanded from a domestic Phase 1 design into a multi-region trial spanning New Zealand, EMEA, and APAC, the bioanalytical challenge centered on keeping a fragile, time-sensitive sample chain intact across nine additional clinical sites, two outsourced processing labs, and a central analytical lab, all…
 November 3
- November 3
November 3
- November 3
This symposium is for the drug development professional who wants to know more about how therapies of a variety of modalities move from preclinical through to clinical proof of concept. The preclinical data required and nice to have for optimal development as well as clinical design, planning and execution…
 Blogs
Blogs
Here is a scenario we encounter regularly. A sponsor has a promising biologic, a T cell-engaging bispecific, a Treg-depleting antibody, or a checkpoint inhibitor with a novel target. The tox species are cynomolgus macaque, minipig, or dog. And the clinical team wants to know: what will we actually see…
 webinars
Flow cytometry can find a cell population in seconds, but naming it consistently across labs is a problem still unsolved. If you’ve ever tried to compare cytometry data across studies, CROs, or even two scientists in the same lab, you know the frustration: everyone gates their own way,…
 News
News
KCAS Bio scientists contributed to an industry working group publication addressing the development and validation of quantitative PCR (qPCR) and digital PCR (dPCR) assays used in regulated bioanalysis for cell and gene therapies. The publication has been recognized as a 2026 High Impact Article by the AAPS Journal.
Posters & Papers
This article is recognized as a 2026 High Impact Article by the AAPS Journal. This AAPS working group paper provides industry considerations for the design, development, and validation of qPCR and dPCR assays used in regulated bioanalysis for cell and gene therapies. Developed by 37 experts from 24 organizations,…
 Blogs
Blogs
The success of a flow cytometry method relies on several key elements beginning with identification of clear study objectives, panel design, appropriate optimization and utilization of robust setup protocols to ensure that the instrument is functioning properly, and that samples can be measured accurately. Another key element that cannot be overlooked is establishing a sound gating strategy as an essential part of this process to ensure that the correct cell populations are being measured. Here are the factors to consider as you build your gating strategy for your next experiment. What are your cells of interest? Each cell subset is defined by a unique combination of surface and intracellular markers. Once you've identified the subsets you want to measure, you'll need to design a staining panel that lets you resolve these populations as distinct groups using different fluorescent labels. For conventional (fluorescence-based) cytometry, this means checking fluorophore brightness against marker expression level and avoiding excessive spectral overlap. The brightest fluors are reserved for dim/low antigen expression markers. Dim fluors are ideal for antigen dense markers and help reduce spread, allowing for the best resolution of all subsets. For spectral flow cytometry, where panels can now run past 40 colors in a single tube, panel design also must account for each fluorophore's full emission spectrum and cellular autofluorescence, since spectral unmixing (not simple compensation) is what separates your signals. Either way, the panel you design directly determines what your gating strategy is capable of resolving. How will you define your subsets? Most gating strategies use nested (hierarchical) gating: start with a fluidics QC gate (time vs fluorescence) followed by non-biased gating — typically size/granularity gates, followed by singlet discrimination (FSC-H vs. FSC-A or FSC-W) and a viability gate — then progressively narrow down through each subsequent parent gate. This sequence matters and a version is always required: excluding debris, doublets, and dead cells before you gate on lineage markers prevents artifacts from contaminating every downstream population, since dead and dying cells bind antibodies and dyes non-specifically. Structuring gates this way also helps ensure you collect enough events within your final subgate to be statistically meaningful. Do your gates stay put, or do they shift? Gates established from your control samples should generally remain fixed as you acquire and analyze data, to keep collection and analysis consistent across samples. But this isn't absolute: biological variability, staining lot changes, or instrument drift can genuinely shift where a population sits relative to a gate. Rather than treating "gates should never move" as a strict rule, build in periodic checks — using your controls — to confirm gates are still appropriately placed, and re-evaluate when a shift is real rather than adjusting gates sample-by-sample to force a desired result. Patient samples add another layer here. Samples from different disease states can shift population size, marker expression intensity, or autofluorescence relative to your healthy control material — an expanded or contracted population, or a dimmer/brighter marker, isn't automatically an assay artifact. These cases call for custom interpretation: reviewing the biaxial plot for each affected sample rather than applying the control-derived gate uniformly, and documenting the rationale when a gate is adjusted to fit the biology of a given patient population rather than left as-is. Are you using the right controls? This is the area where thinking has shifted the most in recent years. Single-color controls Single-color controls are still essential and non-negotiable — every fluorophore in the panel needs its own single-stain control, and what you do with that control depends on your instrument. On a conventional cytometer, they're used for compensation: calculating the spillover of each fluorophore into other detectors and mathematically subtracting it out. On a spectral cytometer, they're used for unmixing: capturing each fluorophore's full emission signature so the software can computationally separate overlapping spectra across all detectors at once, rather than correcting channel-by-channel. Unmixing is more sensitive to the quality of these controls than compensation is, since the whole signature — not just peak overlap — is being used. Single-color controls can be prepared using either cells or compensation/capture beads, and the choice matters. Beads are convenient, give a bright and consistent signal, and are useful when an antibody stains cells poorly or when cell numbers are limited — but they don't always replicate a fluorophore's spectral signature on cells, particularly for tandem dyes, which can shift or degrade differently on beads versus cells, and for dyes that depend on the cell's native autofluorescence (relevant for spectral unmixing). Cells (either the experimental sample or a cell line/control cells with comparable autofluorescence) are more representative but require enough of the target antigen to be present and bright enough to give a clear positive population. As a rule of thumb, use beads for antibody-conjugated fluorophores where staining is efficient and consistent, and use cells for viability dyes, intracellular/nuclear stains, and any fluorophore whose behavior on beads doesn't reliably track its behavior on your actual sample. Whichever you use, the single-color control should go through the same processing steps as your experimental sample — fixation, permeabilization, washes, and any other handling — since these steps can shift a fluorophore's brightness or spectral profile. A single-color control prepared differently from your FMO controls FMO (fluorescence minus one) controls — a sample stained with the full panel except one fluorophore — are per-experiment gating controls: they tell you where to draw a gate boundary, for a single marker that is not added, for the specific sample run. This can often be the drug target to confirm if the entire population has been ablated vs true dim/low frequency expression remaining. They account for the cumulative spread from all the other dyes in the panel, which a single-stain control alone doesn't capture, and they remain the gold-standard control for placing gates — mattering most for markers with a continuous or dim expression pattern (activation markers like CD25/CD69, exhaustion markers like PD-1/TIM-3, or any marker without a clean bimodal separation). FMX controls FMOs are preferable, but operational logistics — panel size, sample volume, staining time, or cost — often make running a true single-marker-omitted FMO for every marker impractical. In those cases, an FMX control (fluorescence minus multiple, where more than one fluorophore is left out at once) is a reasonable compromise. The tradeoff is real: leaving out more antibodies means the control captures less of the actual spread contributed by the full panel, making the resulting gate boundary less precise. As a general recommendation, don't omit more than three antibodies in a single FMX — beyond that, the control stops meaningfully representing the panel's spread and the gate it informs becomes unreliable. Isotype controls Isotype controls are no longer considered a general-purpose gating tool. Current guidance from the flow cytometry community treats them as a narrower control for validating that a new antibody clone isn't binding non-specifically via Fc receptors — not as a way to draw a positive/negative gate boundary. Using an isotype control to set a gate on a dim or continuous marker is a common source of mis-set gates, since it doesn't reflect the fluorescence spread introduced by the rest of the panel. If you're choosing between the two for gate placement, FMOs are the better default. QC controls A longitudinal reference sample tracks whether a known population drifts over time, so you can tell a real biological shift apart from something changing in your assay or instrument. This is typically a PBMC sample, stabilized whole blood control, lyophilized cells, or a synthetic cell-mimic sample with defined marker expression, run alongside your experimental samples at each session and tracked over time (e.g., on a Levey-Jennings chart) for shifts in that population's median fluorescence intensity or position relative to your gates. If a gate does appear to shift on a given day, checking the longitudinal reference trend is the fastest way to tell whether the cause is the sample itself or something upstream. Unlike FMOs, which place a gate boundary for a single run, this control's job is tracking that boundary's stability across runs over time. Together, these considerations — thoughtful panel design, a logical nested gating hierarchy, disciplined but not rigid gate placement, and the right combination of controls for the markers you're measuring — give you a gating strategy you can trust and defend with confidence. At KCAS Bio, flow cytometry is part of a broader bioanalytical approach that supports complex studies from assay development through sample analysis. Our scientists use conventional and spectral flow cytometry to characterize cell populations, evaluate biomarkers, and support immunophenotyping studies, with attention to panel design, controls, instrument performance, and data quality. With flow cytometry capabilities across the US, Europe, and Australia, KCAS Bio can support studies requiring consistent analytical approaches across laboratories and development programs. Frequently Asked Questions What is a gating strategy in flow cytometry?A gating strategy is a systematic approach for identifying and analyzing specific cell populations within flow cytometry data. It typically uses sequential gates to exclude unwanted events such as debris, doublets, and dead cells before identifying the cell populations and marker expression relevant to the study. What controls are needed for a flow cytometry gating strategy?Common flow cytometry controls include single-color controls, fluorescence-minus-one (FMO) controls, FMX controls, isotype controls, and longitudinal quality control samples. The appropriate controls depend on the panel, instrument, markers being measured, and purpose of the analysis. Single-color controls support compensation or spectral unmixing, while FMO controls are commonly used to establish gates for dim or continuous markers. What is the difference between an FMO control and an isotype control in flow cytometry?An FMO control contains every component of a staining panel except the fluorophore being evaluated and helps determine where to place a gate by accounting for fluorescence spread from the other markers. An isotype control uses an antibody with the same isotype as the test antibody but without the intended target specificity. Isotype controls have a more limited role and are generally used to investigate nonspecific antibody binding rather than to establish gates. How do you determine where to place gates in flow cytometry?Gates should be established using appropriate controls and biological context rather than simply positioning them to separate populations visually. A typical gating strategy progresses from quality and event-selection gates through singlet and viability gates and then into lineage or functional marker populations. FMO controls are particularly useful for establishing boundaries for dim or continuously expressed markers. What is the difference between compensation and spectral unmixing in flow cytometry?Compensation is used in conventional flow cytometry to mathematically correct for fluorescence spillover between detector channels. Spectral unmixing is used in spectral flow cytometry to distinguish fluorophores based on their full emission spectra. Both approaches depend on high-quality single-color controls and appropriate instrument setup. To learn more about our flow cytometry expertise and how we can support your studies, fill out the form below to speak with a scientist.
 Posters & Papers
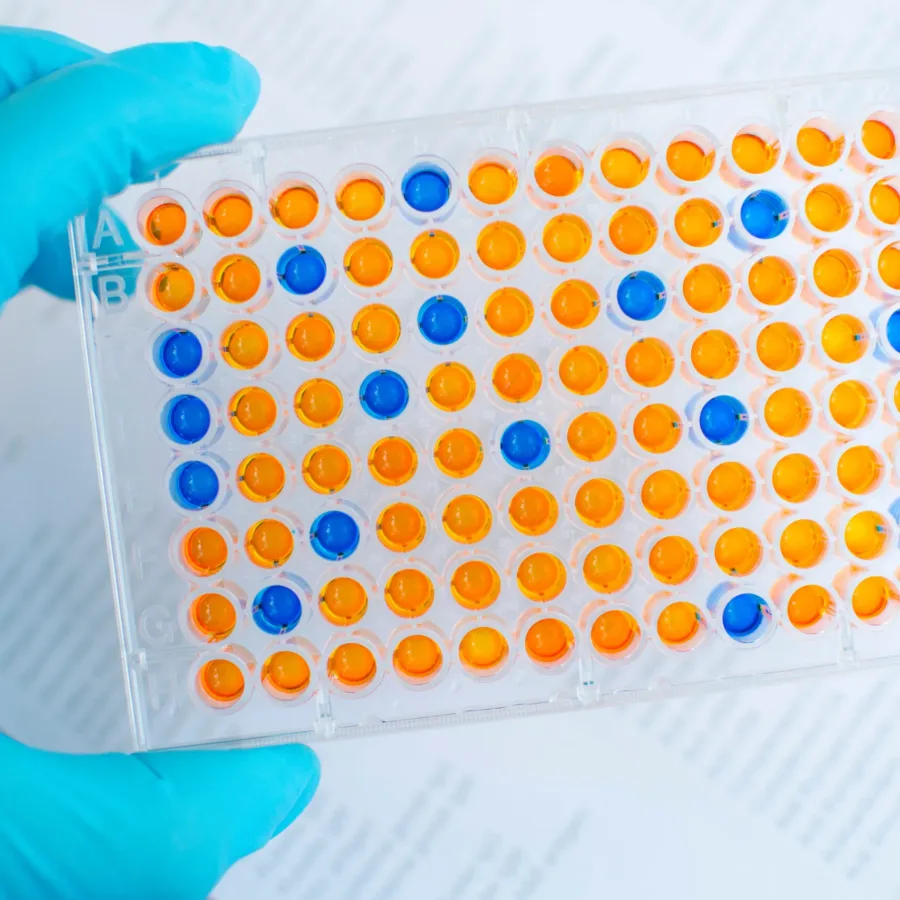
This case study describes the development and validation of an ELISA method to quantify total antibody (tAb) from PYX-201, an investigational antibody-drug conjugate (ADC) developed by Pyxis Oncology. The assay was validated in rat and monkey plasma and used to support preclinical studies and an IND filing. The method…
 Posters & Papers
This case study describes the development and validation of an ELISA method to quantify total antibody (tAb) from PYX-201, an investigational antibody-drug conjugate (ADC) developed by Pyxis Oncology. The assay was validated in rat and monkey plasma and used to support preclinical studies and an IND filing. The method…
 Posters & Papers
This article provides updated recommendations for the bioanalysis of antibody-drug conjugates (ADCs), reflecting more than a decade of advances in the field. Developed by the AAPS ADC Working Group, it addresses key considerations for quantifying total antibody, conjugated ADC, free payload, and drug-to-antibody ratio (DAR), as well as immunogenicity,…
 Posters & Papers
This article provides harmonized recommendations for the validation and reporting of neutralizing antibody (NAb) assays, addressing challenges associated with both cell-based and non-cell-based formats. Developed by experts from industry and the FDA through the American Association of Pharmaceutical Scientists’ Therapeutic Product Immunogenicity Community, the recommendations cover key assay performance…